Author
Topic

Posts: 106
Location:
Swansea, South Wales, UK
Registered:
September 2004
[add to buddy list]
[ignore all posts by this user]
|
|
|
|
|
|
|
No matter how hard you
try, you can't help but get scratches, scuffs,
bumps and dings on your bracelet.
Most aren't too annoying, but every now and then we get a deep scratch that just ruins the look of it and really frustrates us. This is how i take care of the finish on my "Bond" bracelet... The one with nine pieces in a link set up where four of the plates are a fine polished finish and the others are a brushed finish. Notice the scratches?... 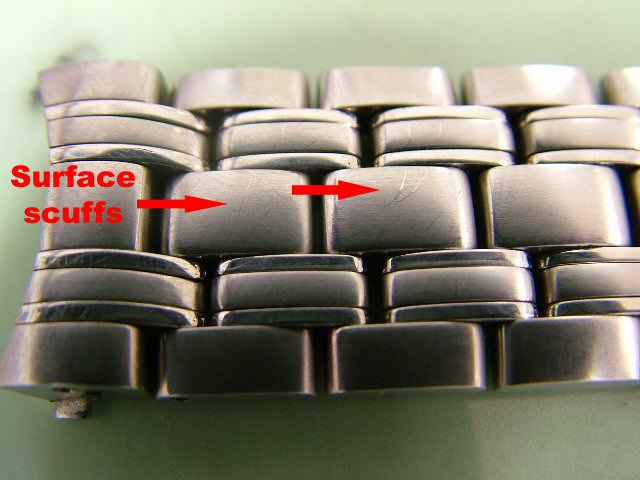 and here... 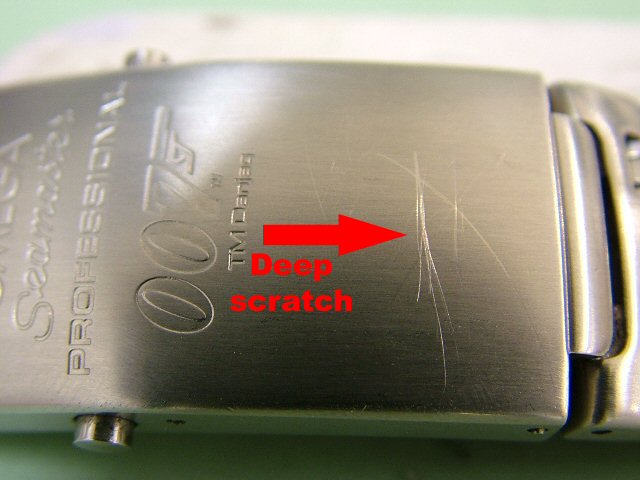 We are going to polish them out to day! 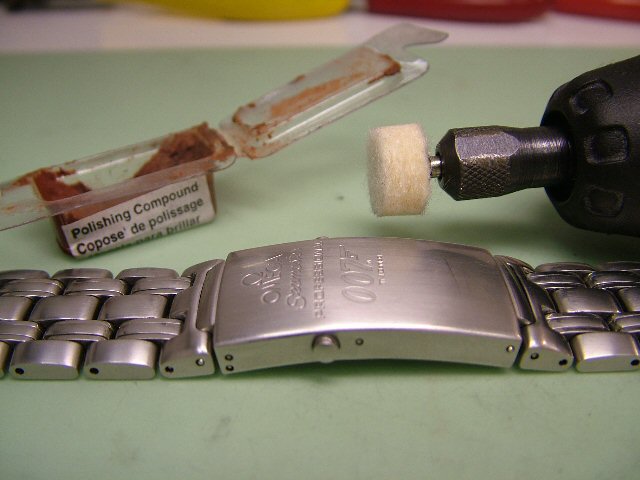 I start off with a dremel and some polishing compound. I finger spread some compound onto the surface im about to polish. Because just putting a lump on the dremel pad will make the chucks fly off and get all over the place including your face! Then i polish it up for a few minutes. 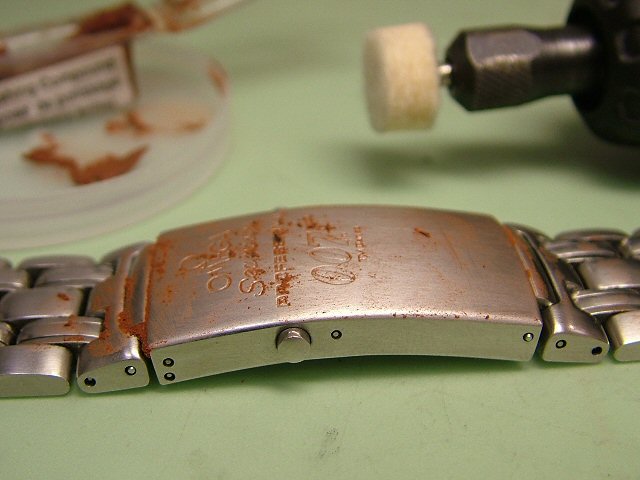 This will take off most of the minor scratches and also it will TAKE OFF ALL THE BRUSHED FINISH! (dont worry, we will put the finish back on after...) Like so... 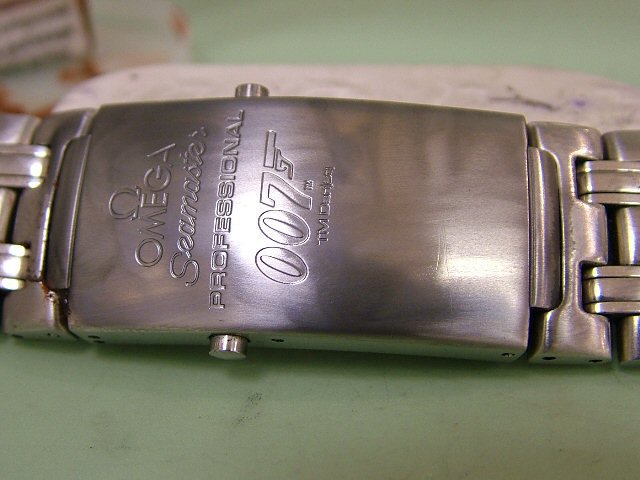 The deep scratches need more help and for this i use a mini satin/brushed smoothing wheel. Being carefull not the remove too much metal and therefore changing the angles/look, i smooth over the deep scratch untill it has been removed. (Watch you dont take off your engravings.) like so... 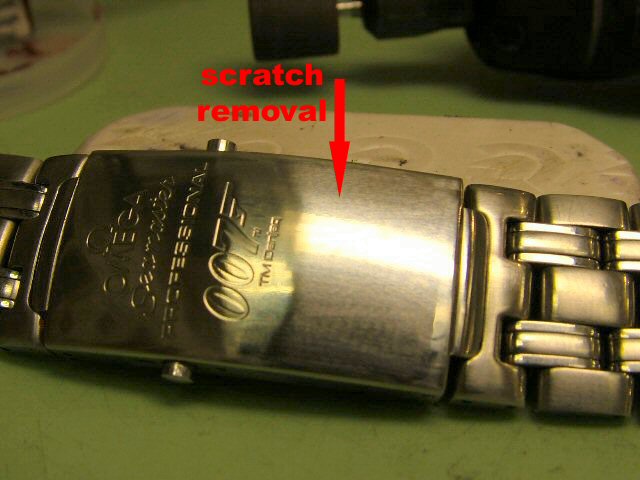 Then I continue the polishing all over the bracelet. This can be a bit of a grubby process but will leave the bracelet scratch free. 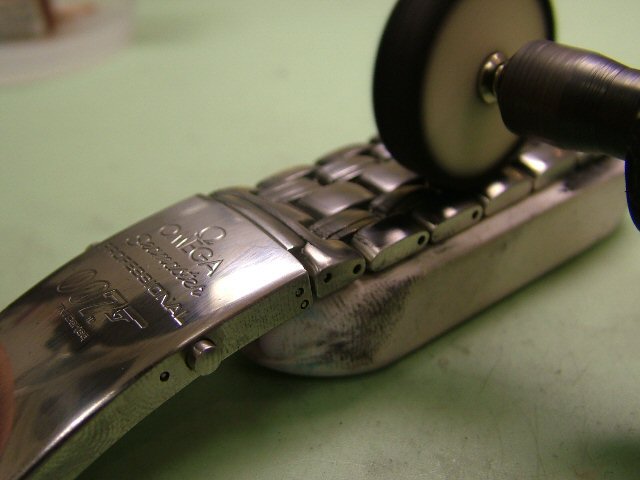 After i have done the first polishing, i clean it off. I have use of an ultrasonic tank for cleaning, but you should be fine to run it under a tap with some dishwashing liquid and a soft toothbrush. Scrub it clean and dry it off with a paper towel. Then I buff it up with a felt buffer. 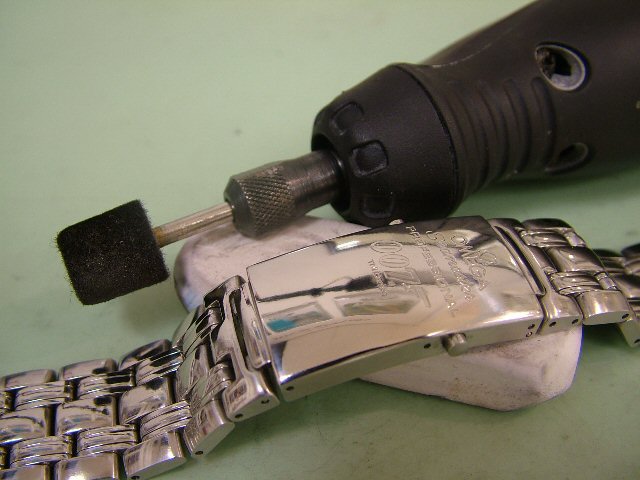 This really brings it to a high polished finish... 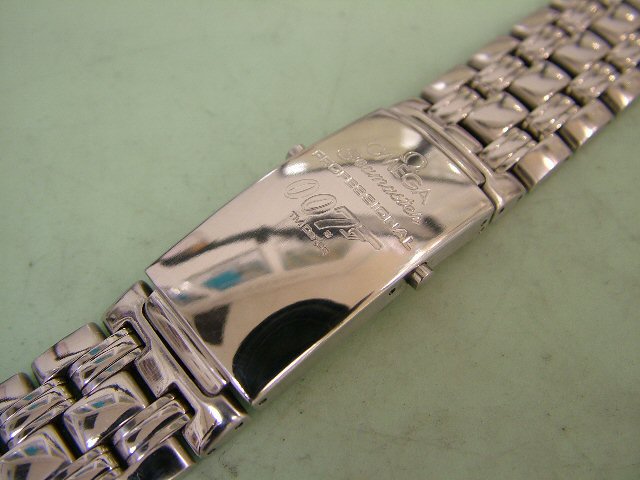 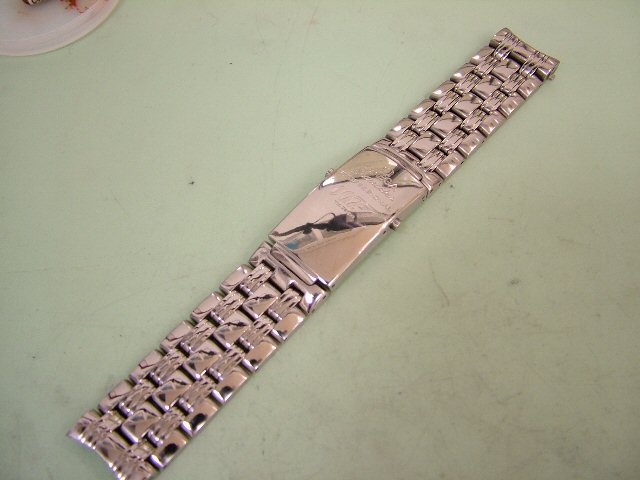 Its now scratch free, clean and very very polished! I then begin the re-brushing of the bracelet. First i tape off a section with some sellotape. Making sure the plates of the link i want to remain polished are covered over. 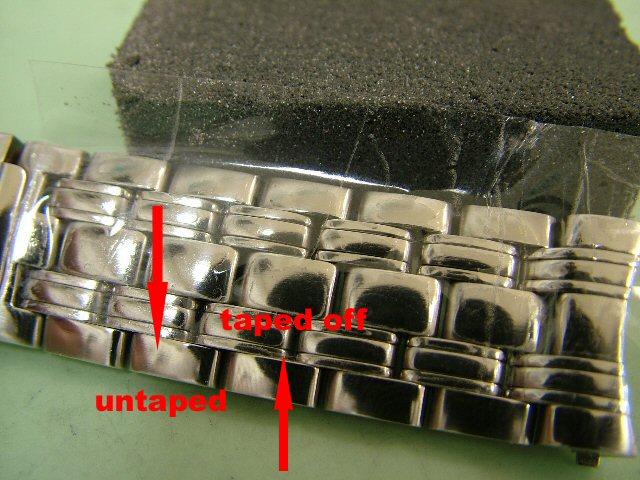 Then the brushed effect is given by using an abrashive block (120 grit) of Garryflex. It is rubbed up and down the untaped bracelet section in long strokes for a couple of minutes untill the desired effect is achieved. 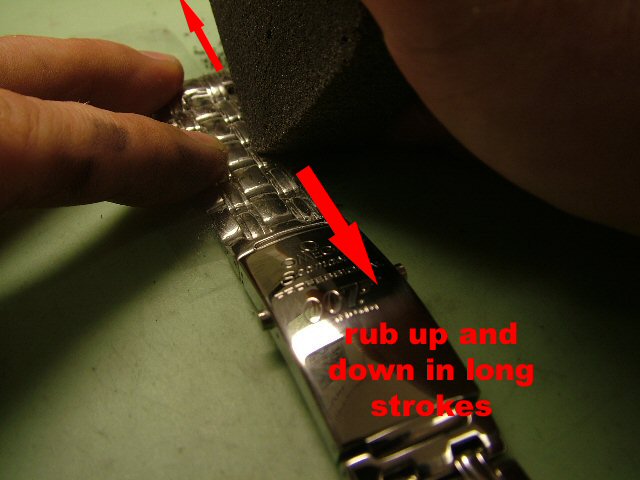 Then i tape off the next section. And so on and so on.... 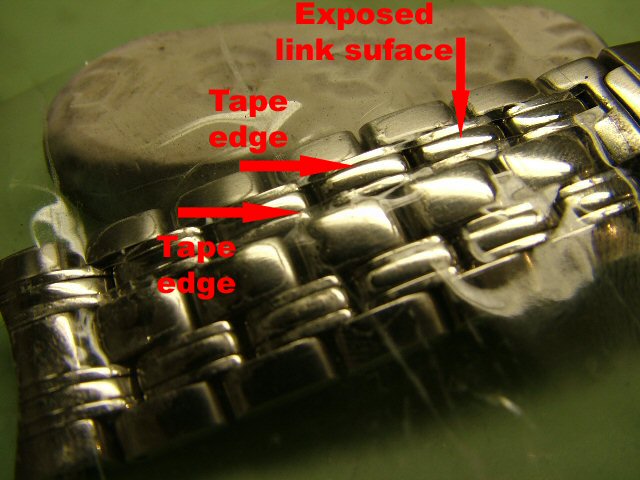 The effect of the brushing is like this... 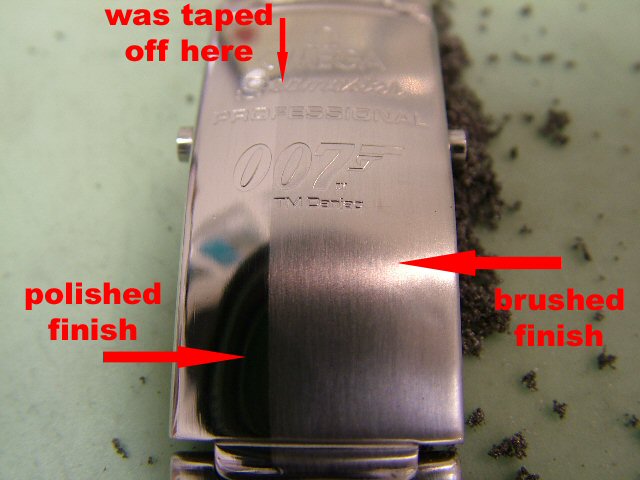 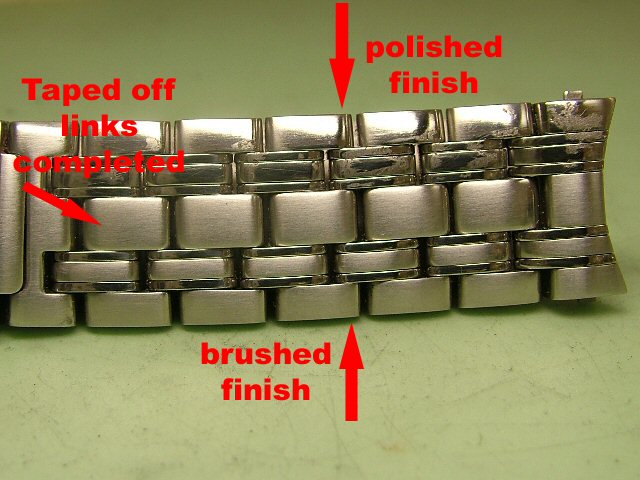 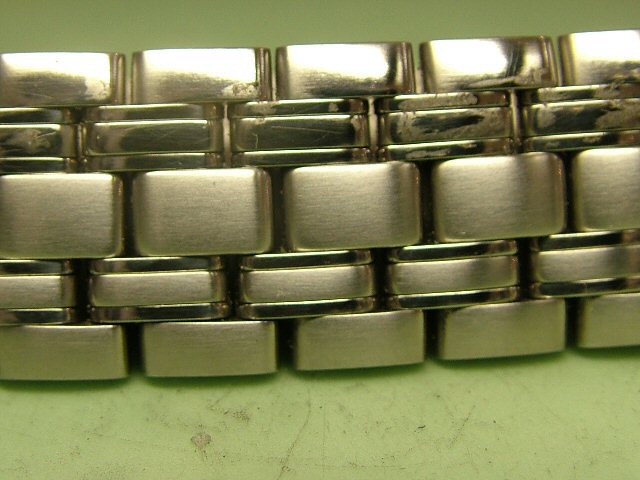 I continue the process untill i have completed the bracelet like so. 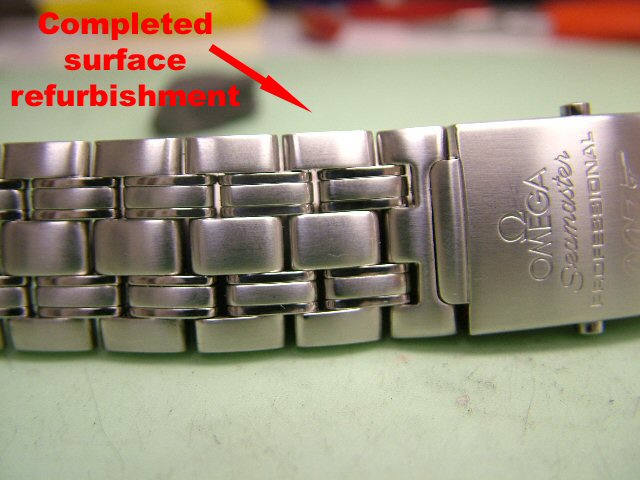 Then put the bracelet back on the watch... 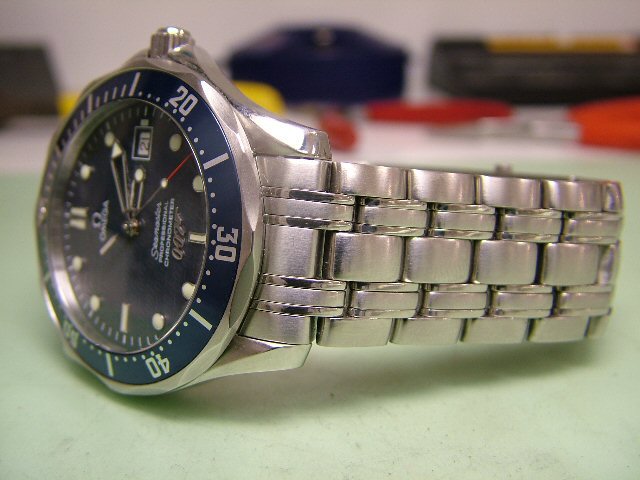 This technique has worked a treat for me, but i'm not saying it's the only method to use and/or the best method to use. Its just what i can do with the selection of tools i have available to solve the problem of scratches and their removal. Hope this helps someone and/or gives them some ideas! Hope you enjoyed! Mason. |
|
 Jun 22, 2005 - 06:55 AM
|
|
|
|


